Congratulations on your new Uniden SDS150. Whether this is your very first police scanner or an upgrade from an older model, this guide will walk you through everything you need to do to get up and running. We are going to keep things simple and practical. By the time you finish reading, you will either be scanning live audio or have a very clear next step in front of you.
The SDS150 is Uniden's most capable handheld scanner. It features a built-in GPS receiver, Bluetooth connectivity for the U/Aware app, a large full-color display, an included drop-in charging cradle, and Uniden's True I/Q receiver technology that handles digital simulcast systems far better than most scanners at any price. It supports P25 Phase 1 and Phase 2 digital decoding, covers all major U.S. frequency bands, and connects to Uniden's free Sentinel software for full database programming. But none of that matters until the basics are done right. Let's start at the beginning.
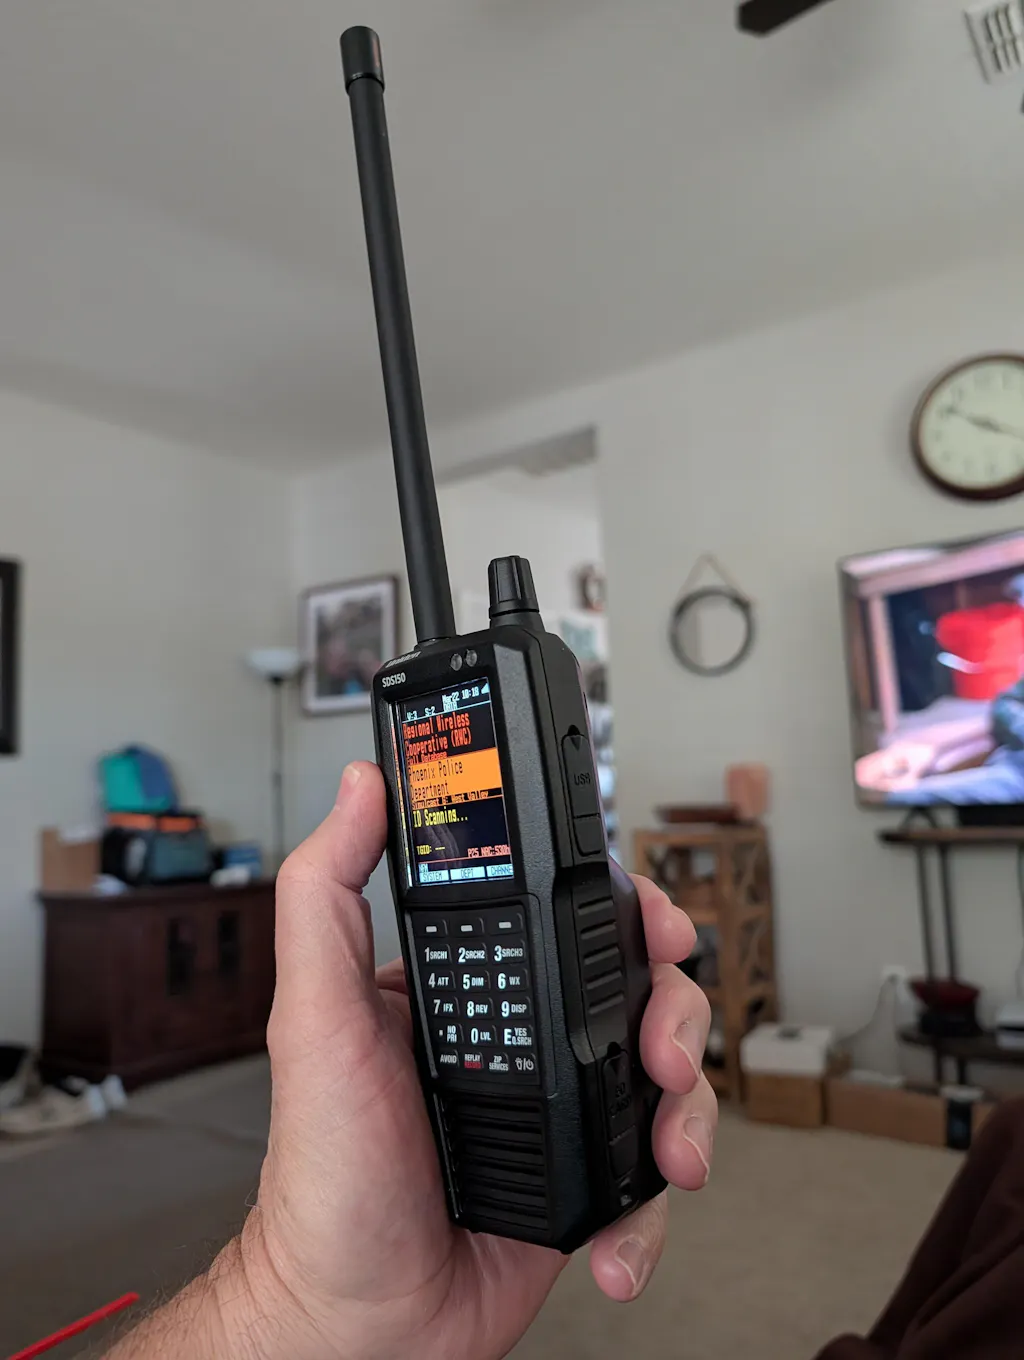
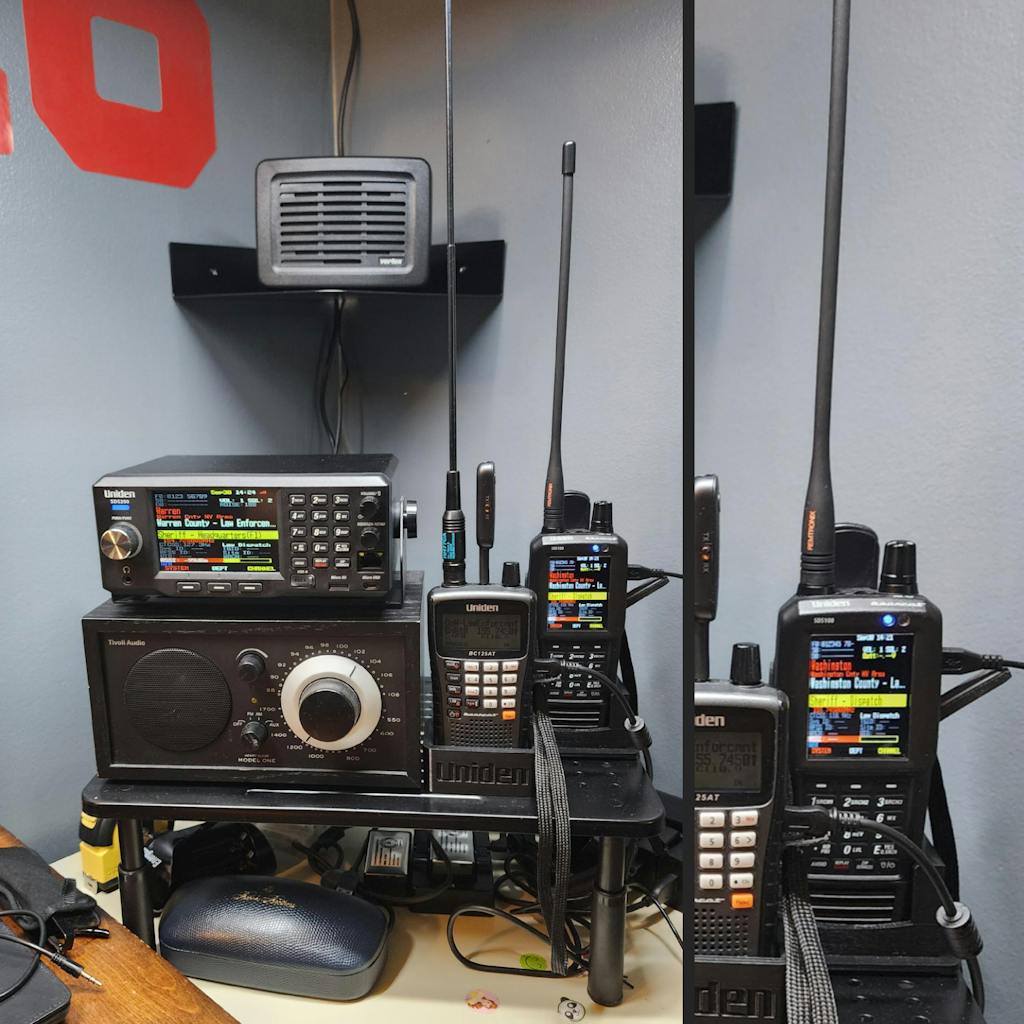
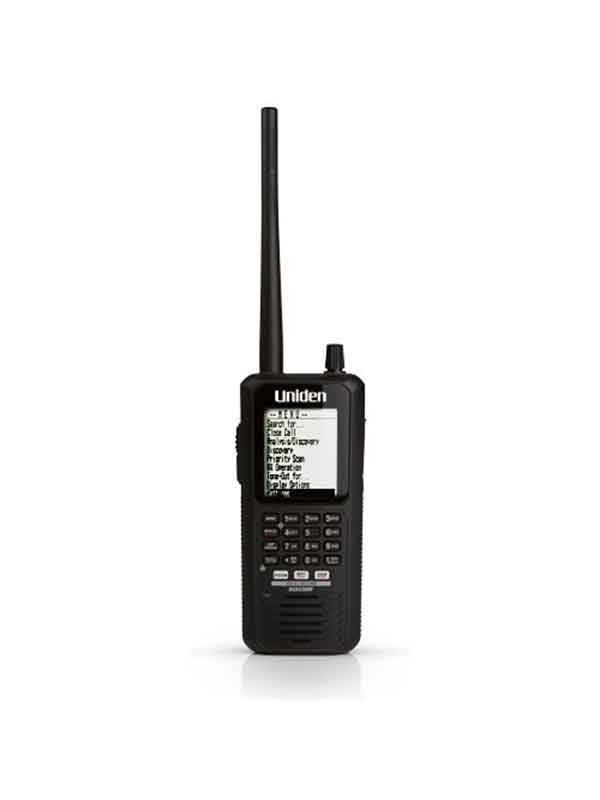
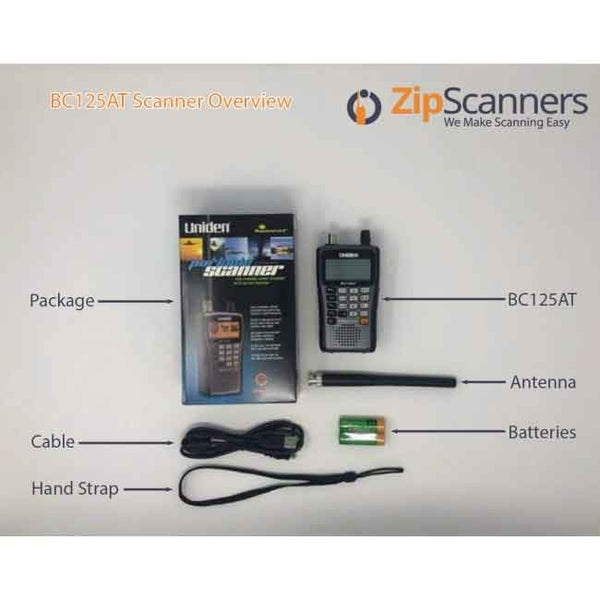
A quick visual overview of the SDS150 from the Zip Scanners team, covering the unit, accessories, and what comes in the box.
"The SDS150 is powerful enough for serious hobbyists, but simple enough to set up in a single afternoon."
SDS150 at a Glance
Before diving into setup, here is a quick look at what makes the SDS150 stand out from other scanners on the market:
| Feature | Detail |
|---|---|
| Frequency Coverage | 25-512 MHz, 758-824 MHz, 849-869 MHz, 894-960 MHz, 1240-1300 MHz |
| Digital Modes | P25 Phase I & II, Motorola, EDACS, LTR, DMR Tier III*, NXDN*, ProVoice* (*paid upgrades) |
| GPS | Built-in GPS receiver — no cables or external units needed |
| Bluetooth | Low Energy (BLE) for U/Aware app connectivity |
| Display | Full-color 240x320 pixel LCD, fully customizable |
| Battery | Two 18650 lithium-ion cells, charges via USB-C or drop-in cradle |
| Water Resistance | IPX4 / JIS4 rated — splash and weather resistant |
| Programming | Free Sentinel software (Windows) or zip code / GPS-based auto-scan |
| Waterfall | Included (paid upgrade on older models) |
| SD Card | Accessible via side flap — no need to remove the battery |
What's in the Box
Before you do anything else, check that your package includes everything it should. Open the box and confirm the following items are present:
- Uniden SDS150 scanner unit
- Telescoping whip antenna (attaches to the BNC connector on top)
- Drop-in charging cradle with AC power adapter
- USB Type-C cable (for Sentinel connection and charging)
- Rechargeable lithium-ion battery pack (installed)
- Quick start guide and documentation
If anything is absent from your package, contact the seller before proceeding. Operating the scanner without the correct antenna can produce poor reception or no audio at all. The SDS150 antenna uses a standard BNC connector.
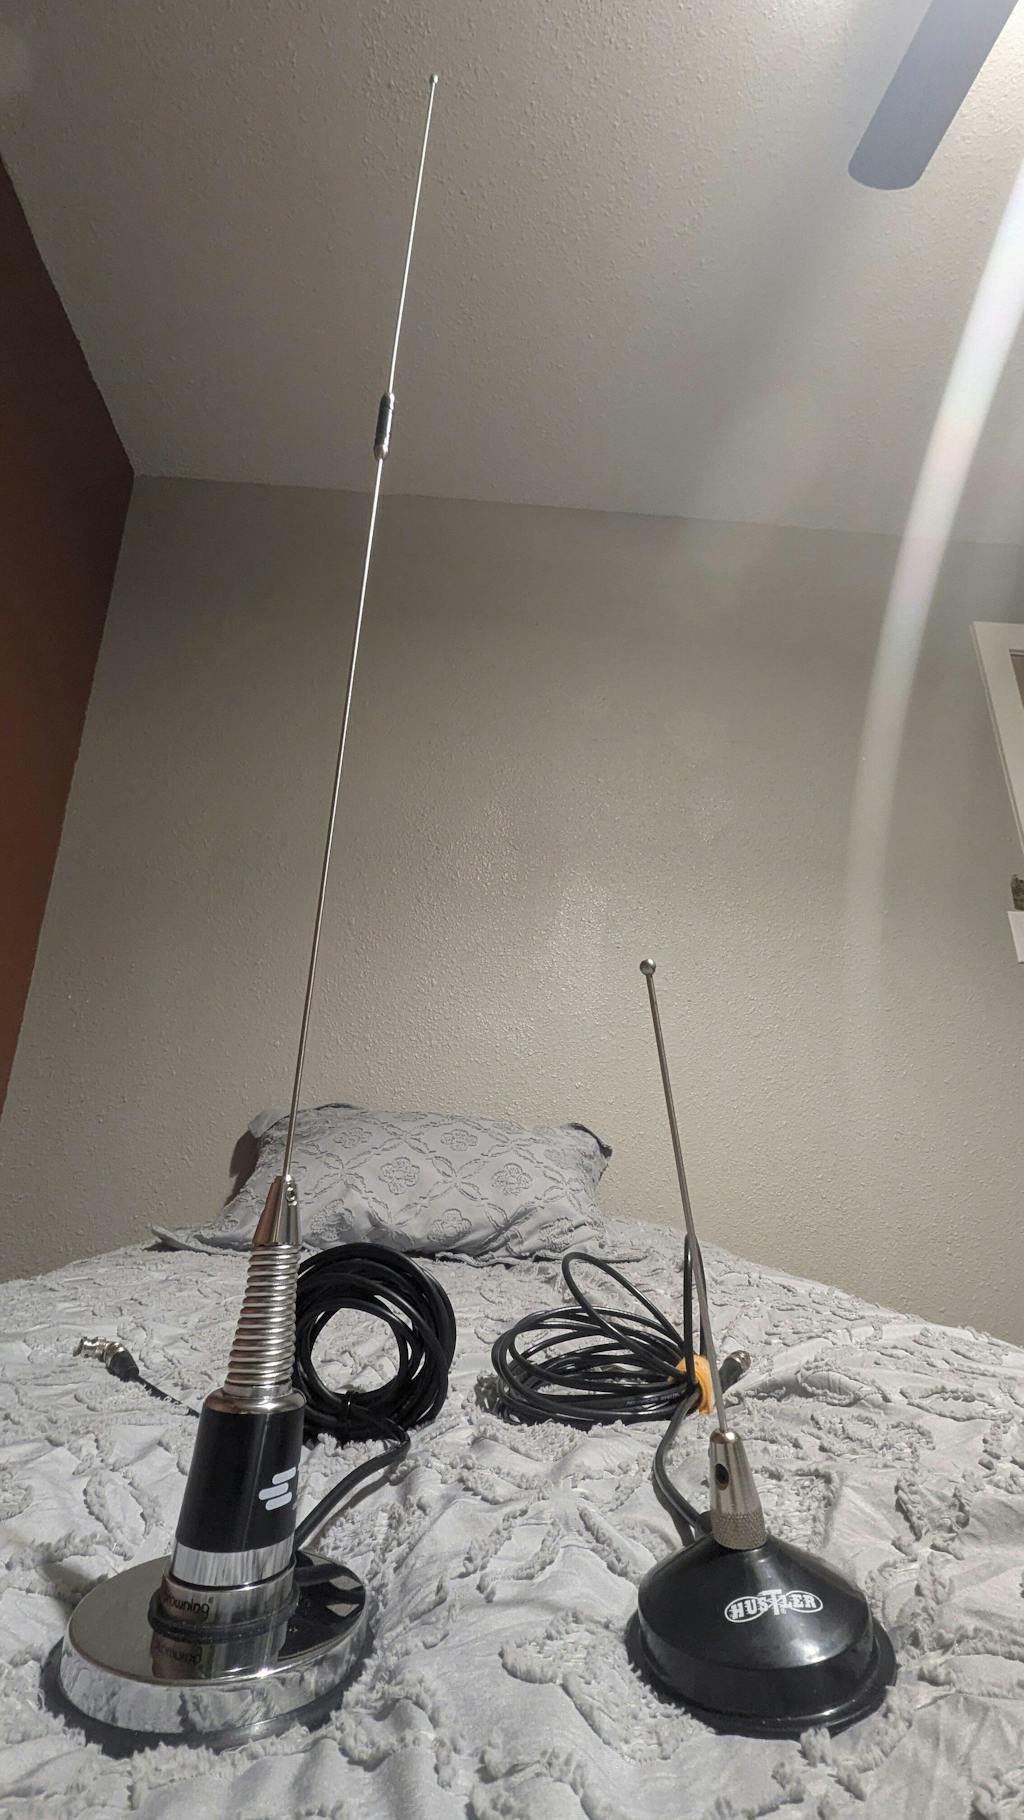
Once everything checks out, attach the antenna by pushing it into the BNC port on top of the unit and twisting clockwise until it clicks firmly into place. Extend it fully for the best initial reception. If you want better range later, upgrading to a higher-gain external antenna is one of the most effective improvements you can make. Check out our scanner antennas for options that work well with the SDS150.
Charging the Scanner
The SDS150 charges through its included drop-in cradle or directly via the USB-C port on the side of the unit. This is a significant upgrade from the SDS100, which required removing the battery to charge it separately.
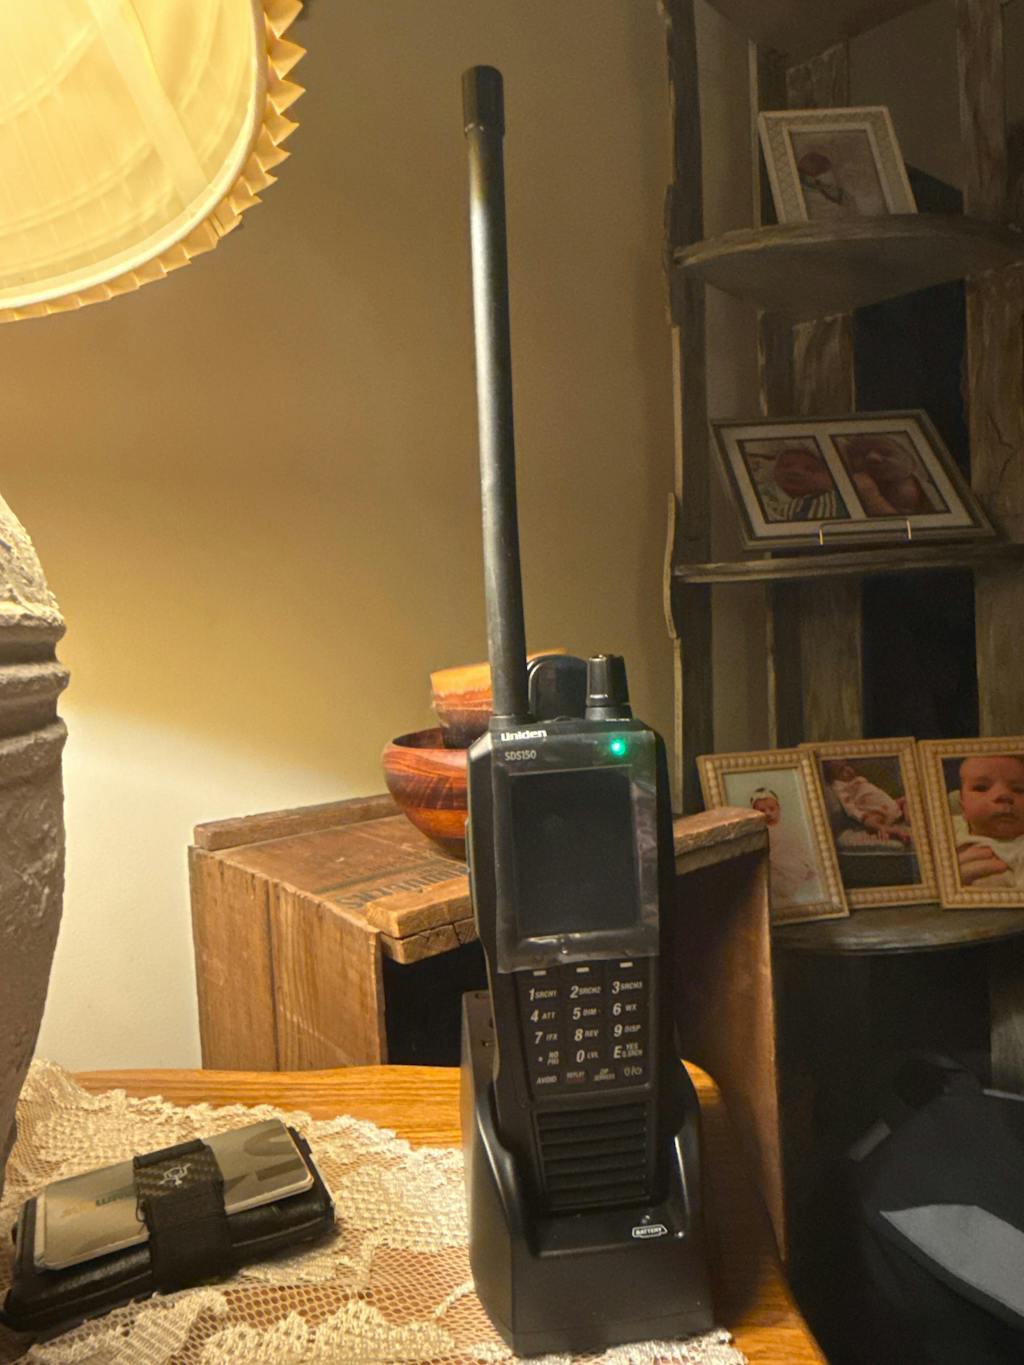
To charge using the cradle: place the scanner in the front slot, making sure the charging contacts align. The LED on the front of the scanner will turn red during charging and green when complete. To charge via USB-C: connect any USB-C cable to the port under the rubber flap on the right side of the unit.
You can also power the SDS150 by connecting the USB-C cable while the scanner is in use, which allows you to run the unit from a wall outlet or a car USB adapter without draining the battery. If you plan to use it in a vehicle frequently, a dedicated 12V DC vehicle power solution is worth considering.
Powering On for the First Time
With the battery installed and the antenna attached, press and hold the PWR button on the front panel. The full-color display will illuminate and the Uniden logo will appear briefly as the unit boots up.
The first time you power on, the scanner may begin scanning right away, but it will not find much because it has not yet been programmed for your location. That is normal. You will do that in the next few steps using the zip code method or Sentinel software.
Before doing anything else, we recommend updating the firmware on your SDS150. Uniden releases updates that fix bugs and improve performance. Connect to Sentinel (Step 5), then go to Help and select Check for Firmware Update. The RadioReference community forums are also a good resource for tracking what each firmware version fixes.
Location-Based Scanning Using Your Zip Code
The quickest way to start hearing something is to use the SDS150's built-in Location-Based Scanning feature. This pulls from the HomePatrol database already loaded on the scanner and finds radio systems in your area using your zip code. The scanner searches within roughly a 10-mile radius of the center of your zip code.
- Press the Menu button on the front panel.
- Use the scroll knob to navigate to Scan, then press the knob to select it.
- Select Zip Code Search from the submenu.
- Use the keypad to enter your 5-digit zip code, then press E to confirm.
- The scanner displays available trunked systems and conventional channels in your area. Select the ones you want and press E again.
- Press Scan to begin.
Zip code scanning loads everything in the database for your area, including channels you probably do not care about. Many new users find it overwhelming at first. Our expert programming service filters out the noise and sets up your scanner with only the channels that matter for your county. If you want a cleaner experience from day one, learn more about our programming service.
Connecting to Sentinel on PC
Sentinel is Uniden's free Windows software and the most complete way to program the SDS150. It connects your scanner to the RadioReference database, manages your Favorites Lists, and handles firmware updates. For serious use, Sentinel is the way to go.
This Zip Scanners video walks you through downloading and installing Sentinel from scratch, including selecting the correct version for your scanner model.
- On your Windows PC, go to uniden.com/products/sds150 and download Sentinel from the Support section of the product page.
- Run the installer and follow the on-screen prompts. Sentinel is free and does not require an account to download.
- Once installed, power on your SDS150 and connect it to your PC using the included USB-C cable.
- Open Sentinel. It should automatically detect the scanner and display the model number in the upper left corner of the screen.
If you have ever connected an older Uniden scanner (SDS100, SDS200) to this PC, there may be a driver conflict that prevents the SDS150 from showing up. The fix: open Device Manager in Windows, expand Ports (COM & LPT), right-click and delete any Uniden serial ports listed, then reconnect your SDS150. Sentinel will install the correct driver automatically. This is the most common connection issue reported in the RadioReference forums and is easy to resolve in a few minutes.
Sentinel runs on Windows 7, 8, 10, and 11. There is no Mac version. If you are on a Mac, run Windows in a virtual machine or use the U/Aware app as an alternative path for basic setup. We cover U/Aware in Step 8.
Downloading and Updating the Database
With Sentinel open and your scanner connected, the next step is to download current radio system data for your area. This is how you get your scanner tuned to your county's actual frequencies and talkgroups.
- In Sentinel, click Connect to RadioReference.com in the top menu bar.
- Log in or create a free account at RadioReference.com. A free account is enough to get started.
- Use the search bar to find your state and county. Select the radio systems you want to add, then click Add System to Scanner.
- When ready, click Write to Scanner. Sentinel will send the updated data to your SDS150. Do not disconnect the cable or power off the scanner during this process.
A complete walkthrough of the Sentinel software interface, from connecting your scanner to writing your first Favorites List.
A free RadioReference account gives you conventional frequency data. A Premium membership (paid annually) unlocks full talkgroup data for trunked P25 systems, which is what most local police and fire departments use. If your area runs trunked digital radio, the Premium database is the most important upgrade you can make to improve what you hear. You can start free and upgrade later without losing any of your programmed data.
To add conventional frequencies in Sentinel, open the Favorites List Editor, click the green plus sign to create a new System, and select Conventional as the system type. From there, add a Department, then add individual channels with their frequency, mode (analog, P25, DMR, NXDN), and a label. This is covered in detail in the RadioReference forums and works the same way for the SDS150 as it does for the SDS100 and SDS200.
Adding Your First Favorites List
A Favorites List is how the SDS150 organizes what it scans. Think of it as a customized playlist of radio systems and channels. You can have multiple lists and switch between them on the fly using the Favorites button on the front panel.
- In Sentinel, click Manage Favorites Lists in the left panel.
- You will see a tree view of all systems and talkgroups on your scanner. Uncheck anything you do not want to hear. For example, if you only want police and fire, uncheck highway maintenance, utilities, and other services.
- Rename the list by double-clicking the list name. Use something descriptive like your county name.
- Click Write to Scanner to push the changes.
If you travel between counties or want separate lists for work and home, create one Favorites List per area. When you import a large regional system, Sentinel will pull in every site for that system including out-of-range ones. You can set those to Avoid, or if you use Location-Based Scanning on that list, the scanner will automatically skip sites that are too far away. This is a feature many new users miss and it makes a real difference in day-to-day usability.
Pairing with the U/Aware App (Optional)
Uniden's U/Aware app is a free companion app for iOS and Android that connects to your SDS150 over WiFi via Bluetooth Low Energy. It gives you a second display on your phone showing what channel is active, talkgroup names, and basic scanner controls. It also lets you record transmissions directly from your phone.
- Download U/Aware from the App Store or Google Play.
- On your SDS150, press Menu, go to Settings, then Network. Enable WiFi and connect the scanner to your home network.
- Make sure your phone is on the same WiFi network.
- Open U/Aware. It will discover the SDS150 automatically. Tap the scanner name to connect.
One thing worth knowing: the SDS150 does not pair directly with Bluetooth headphones or speakers. To stream audio wirelessly, your phone acts as the intermediary between the scanner and the Bluetooth audio device. This is a common point of confusion noted in the RadioReference community. It works, but it does use battery on both devices. Direct Bluetooth audio pairing may be added in a future firmware update.
Tips for New Users
A few things that make a real difference when you are just getting started:
- Antenna placement is everything. Put the scanner near a window, ideally on an upper floor. Scanners work best with line-of-sight to the transmitter tower. If you hear nothing or only fragments, try moving the unit before assuming a programming problem. Many reception issues are purely physical.
- Audio cuts out mid-transmission? This is common with trunked digital systems when the talkgroup list is incomplete. Go back to Sentinel, confirm you have the full talkgroup data for your county's radio system, and write again. A RadioReference Premium account gives you the most complete talkgroup data available.
- Muffled or garbled digital audio usually means the system type is set incorrectly in Sentinel. Confirm the correct system type for your county on RadioReference.com (P25 Phase 1, P25 Phase 2, etc.) before assuming a hardware problem.
- Scan delay matters. If you hear the beginning of transmissions but miss the rest, increase your scan delay under Menu > Settings > Global Settings > Delay.
- Audio sounds tinny at high volumes? This is something the RadioReference community has noted with the SDS150. A simple fix: apply a +2 or +3 audio level adjustment to your talkgroups in Sentinel, so you do not need to push the volume as high. The audio quality improves noticeably at moderate volume levels.
- Check firmware regularly. In Sentinel, go to Help then Check for Firmware Update. Uniden releases updates that fix real-world performance issues, including P25 decoding improvements and control channel handling. Running the latest firmware is one of the easiest ways to keep your scanner performing at its best.
- Software upgrade keys do not transfer. If you are upgrading from an SDS100 and purchased DMR, NXDN, or ProVoice keys on that unit, be aware those keys cannot be moved to the SDS150. New keys are required. Plan for that cost if those modes matter to you.
Uniden SDS150 Home/Mobile Scanner
In stock and ready to ship. Add expert programming and arrive ready to scan.
Shop the SDS150Common Problems and Fixes
These are the issues that come up most often in the RadioReference community forums and in questions we get from new SDS150 owners:
Open Device Manager in Windows. Under Ports (COM & LPT), delete all Uniden serial port entries. Disconnect the scanner, reconnect it, and let Windows install the driver fresh. Sentinel should then recognize the unit. This is the most frequently reported connection issue for users who have previously used an SDS100 or SDS200 on the same PC.
The SDS150 must be set to Mass Storage mode when prompted on screen after connecting via USB-C. If you miss this prompt, disconnect the cable and reconnect while watching the scanner display for the prompt. Once in Mass Storage mode, a new drive letter for the scanner will appear in File Explorer and Sentinel will be able to read and write to it.
First, confirm the antenna is attached and fully extended. Then check that the systems and talkgroups in your Favorites List are not set to Avoid. Also verify that the service types you want to hear are enabled under your Favorites List settings in Sentinel. If using zip code scanning, the database on your unit may be out of date. Connect to Sentinel and download the latest database.
A small number of SDS150 users have reported the scanner freezing during extended scanning sessions, particularly when scanning a full database. If this happens, try setting up a more focused Favorites List rather than scanning the entire database. If the lockup repeats, check the RadioReference SDS150 forums for the latest firmware notes and consider reformatting the SD card using the official SD formatter tool.
Also Available from Zip Scanners
If you are comparing models or shopping for someone else, here are the closest alternatives to the SDS150:
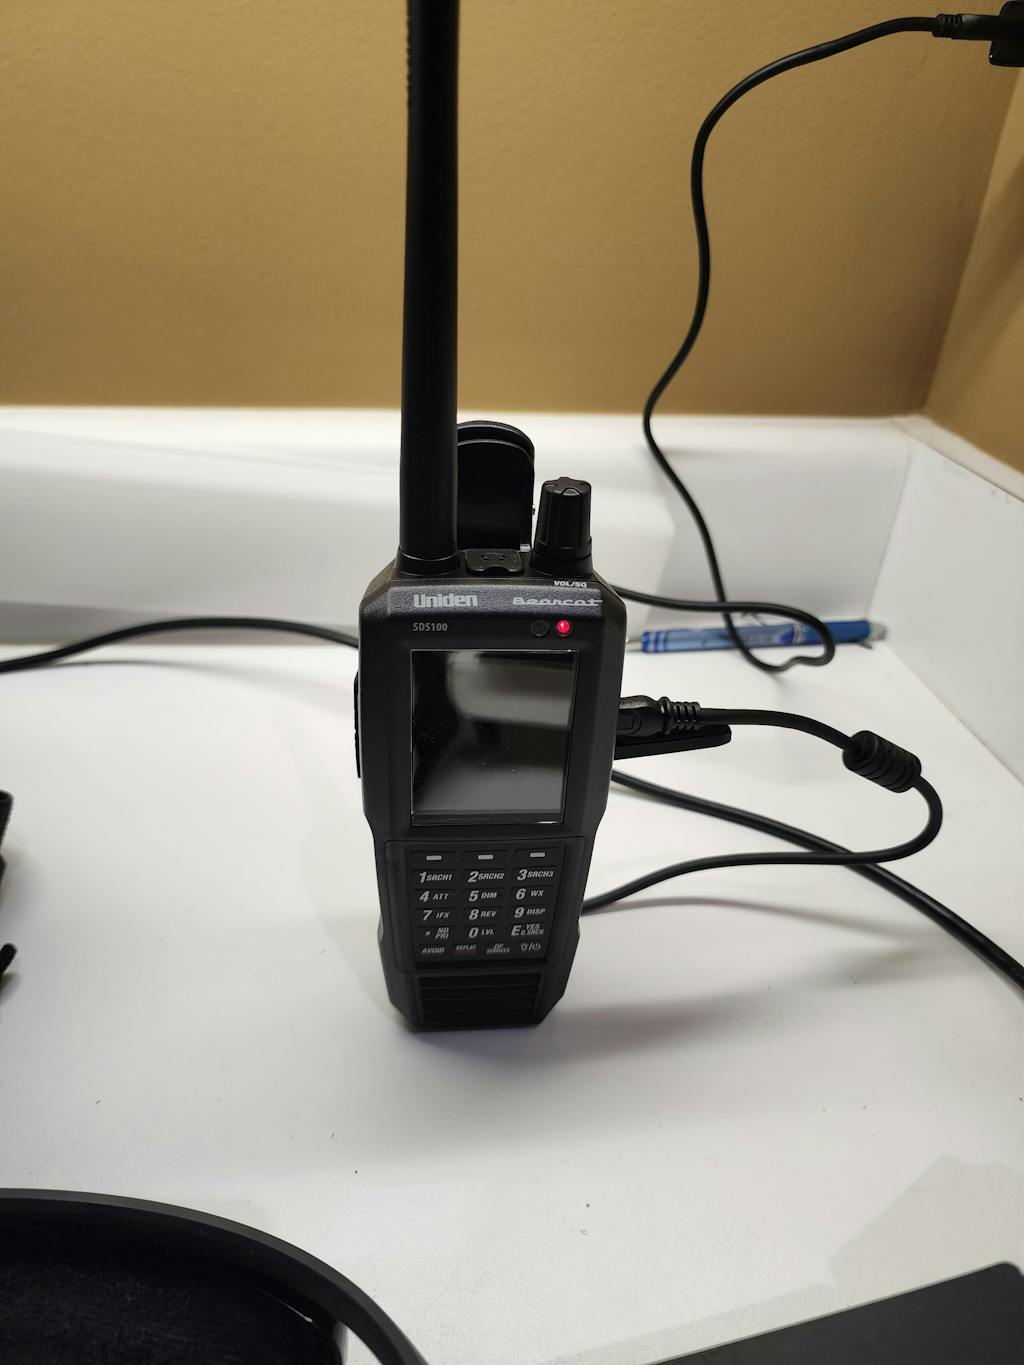
Uniden SDS100
Same True I/Q core as the SDS150, slightly smaller form factor, no built-in GPS. A strong handheld option if you do not need GPS or the cradle.
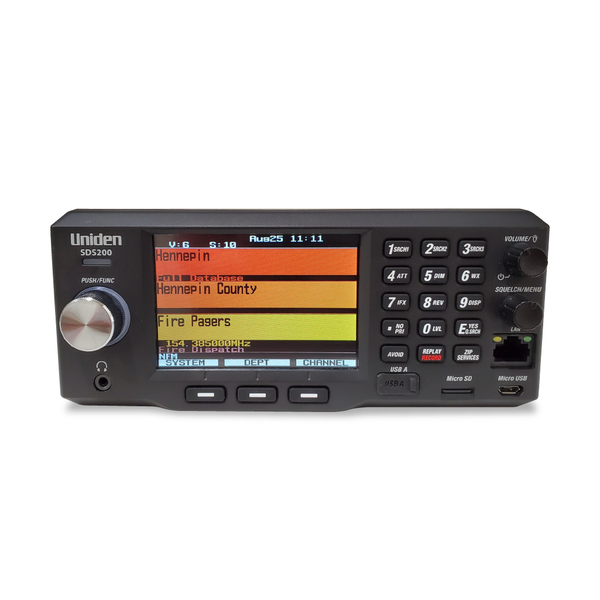
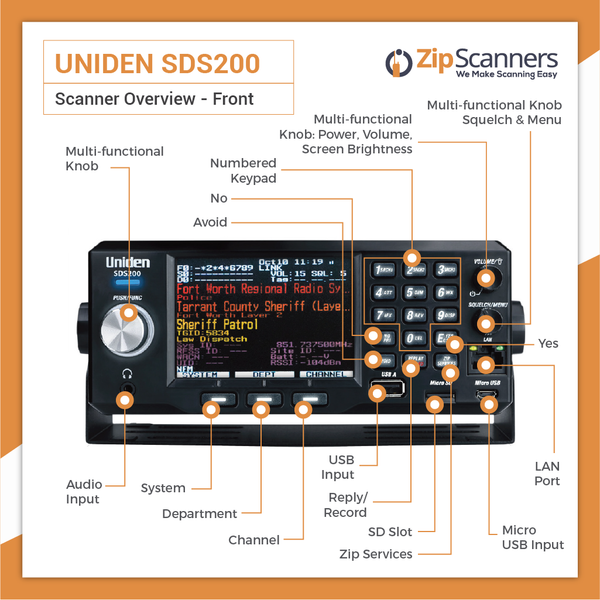
Shop the SDS100Uniden SDS200
The base and mobile version of the SDS line. Designed for permanent desktop or vehicle installs with a larger speaker and external antenna options.
Shop the SDS200Get Scanner Tips Delivered to Your Inbox
We send practical guides, frequency updates, and new product alerts to scanner owners who want to get more out of their equipment.
Still Have Questions?
Our scanner specialists are available for a free call. Book a time that works for you and get answers from someone who uses this equipment every day.
Book a Free CallSkip the Setup. Scan on Day One.
Our expert programming service configures your SDS150 for your specific county before it ships. Open the box, plug it in, start scanning.
Get Expert ProgrammingQuestions about the SDS150? Visit the product page or book a free call with our team.